How to add DEM data to QMapShack. I have been using QMapShack for about a year now. I’m running Arch Linux.
I use QMapShack for cleaning, modifying or creating GPX traces that I download for my Treks. As often these downloaded traces are not very well recorded and need modifying or cleaning up. I then add these traces to my Garmin GPSmap 66i, which I use when trekking.
Very Linux (in other words very often not very clear to use) QMapShack is extremely powerful, but can be difficult to understand. The problem is that I have only found one forum for it in German. I do not speak or understand a word of German and as there are no real explications of how it works. It can be a little trying.
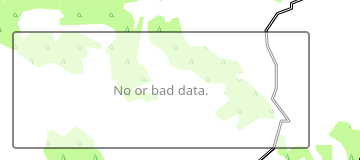
I was modifying a trace that I had downloaded for an upcoming trek in 2021 but every time I edited some track points I lost the elevation details and the small track info windows would become empty
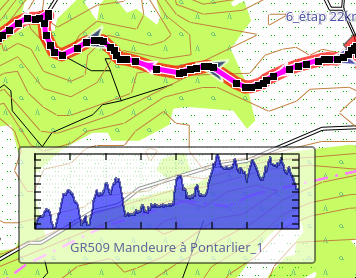
After quite a while. I finally realised that this was due to QMapShack not having the elevation info, and also realised that I would need to get this from somewhere, using DEM files. So here is how to add DEM data to QMapShack, so that when you modify an existing GPX trace you don’t lose the elevation details.
Add DEM data to QMapShack and how to use the DEM files
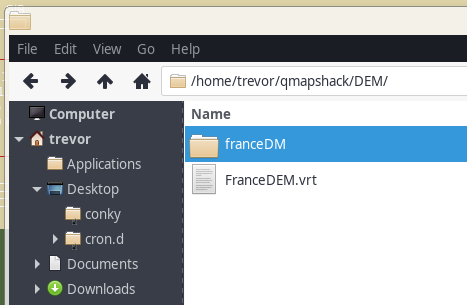
Firstly in your QMapShack folder. Mine is in /home/trevor/qmapshack
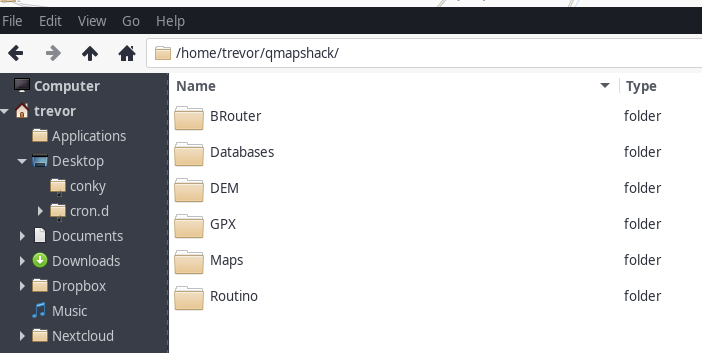
I have or created (I can’t remember which) a DEM folder
I then open https://dwtkns.com/srtm30m/ from where you can download the DEM tiles for the area that you need. In my case France, so loads of tiles and you have to download them one at a time, doh .
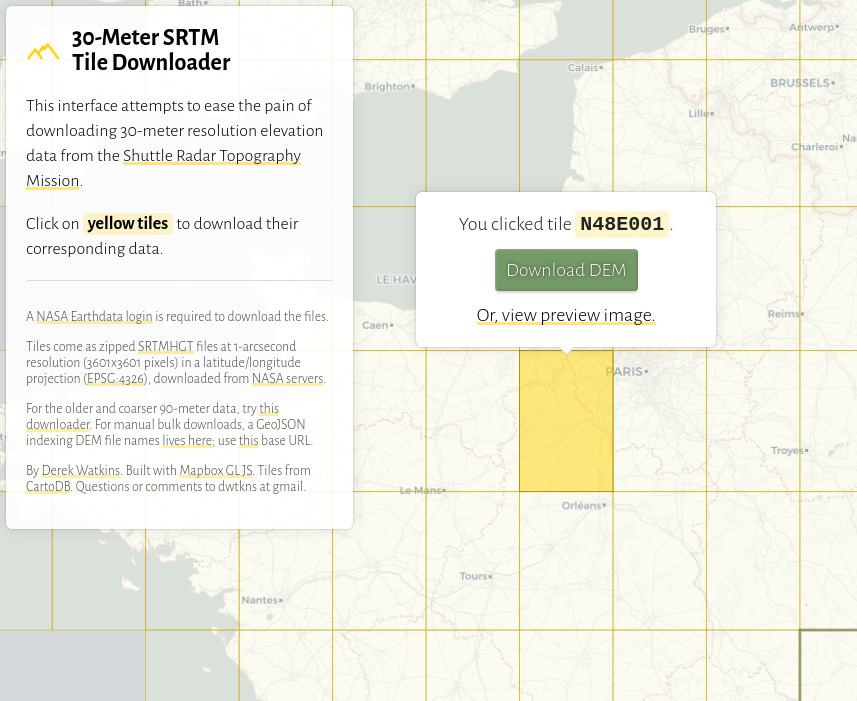
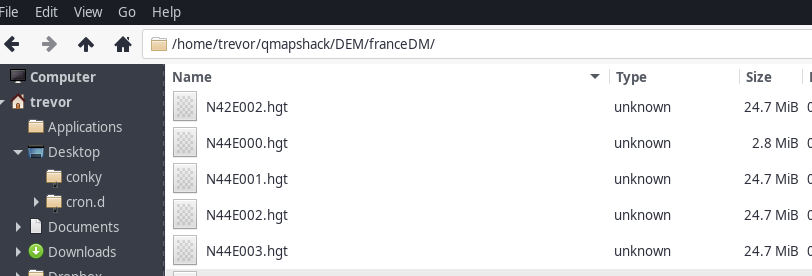
Now I download these tiles to a folder that I had created in my DEM folder. I called it franceDM (you will need to dezip them later or extract them while downloading)
You will have as shown in the image above a file N48E001
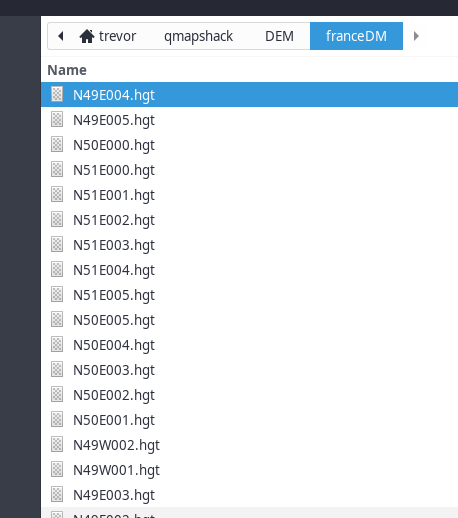
So you’ve downloaded the tiles
I assume that you have downloaded all the tiles that you need, again in my case all that covers France
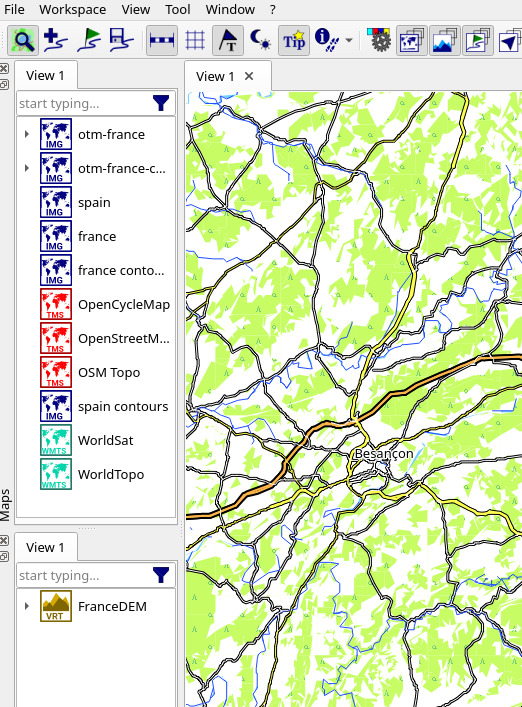
Now in the program QMapShack
Firstly add a window from the top tool bar : Window – – Dig. Elev. Model (DEM) see further below
Then from the top tool bar : Tool — VRT Builder. In the new window that appears. Click on the Select source files: (Green folder before this text)
Guide the linux dialog windows to your franceDM folder (or what ever name you gave this folder)
Select all the files from this window and click open. You’ll have a new window like this
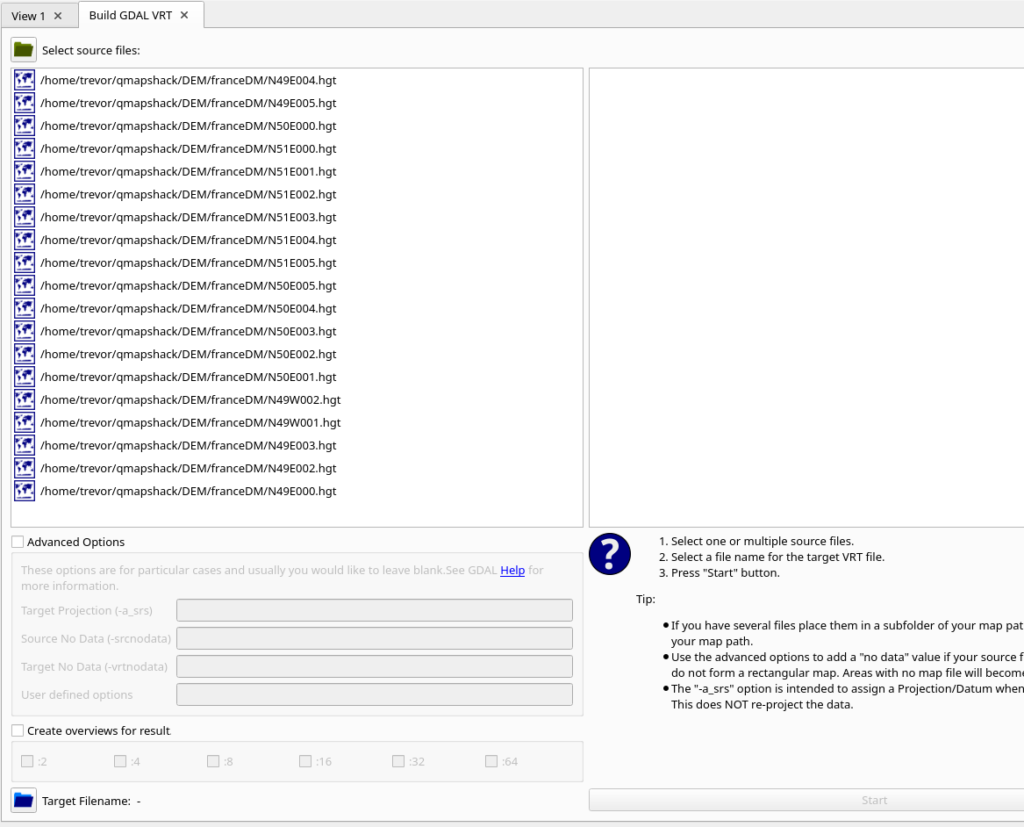
Build the VRT
So with all your tiles now in the left hand window, all you need to do is click on the Target Filename: (Blue folder before this text)
This will open a window so that you can create (or modify an existant xxx.vrt file) In you case of a new one so just give this file a name. In my case FranceDEM.vrt I saved this file next to my franceDM folder but I believe you can put it almost any where.
Now back to the small window that you should have showing, probably empty when you created the window from the top tool bar : Window – – Dig. Elev. Model (DEM)
In this empty window, right click and use the Setup DEM Paths
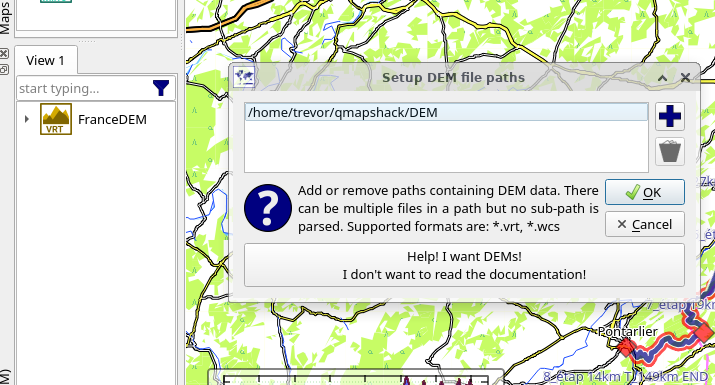
Now as you can see , you just have to add the path where the DEM files / folders are
All being well this will now add to this empty window FranceDEM (this is the FranceDEM.vrt file. Now right click to activate it
Going back to your trace that you have been working on and lost the elevation date, Right click on the trace , choose Replace Elevation by DEM.
Now your Track Information windows should now show you the data like before you started playing with the trace and lost it.
It’s done, you can now modify your trace, add, remove, change it. The elevation data will still be shown thanks to the DEM data for QMapShack